
So I finally decided to make the mini book first….. the
tougher version!!!
Please to remember people, that I do this to increase my
patience levels…. So if you find that the final product is not as neat… well
you know why!!!! Even the photography…. I would just like to say that my HTC
Google Nexus camera is doing the best it can but my shaky arms fail it once it
a way!!!!! Ha ha ha!!!
But over and above everything, I HAVE FUN!!! And that
matters most, don’t you think?!
SO lets start…..
Getting all the materials together is number one. Make a
list before you start, because I guarantee you getting up from your work
station is really annoying.

Now I have done this tutorial a little different from my
previous ones, I have actually worked it all out on Photoshop to get the images
and directions together. It was a lot more hard work than my usual method, hope
you guys like it!!!


The following is the binding process. I made three markings and used them, you could make four or even two depending on the size of your page.

BS and FS before your minds wander simply stands for Back
Side and Front Side!!!!!! Its just to
clear any confusion…. I think I was just so confused while making it and during
the photoshopping!!
(ps: click on image to make bigger)


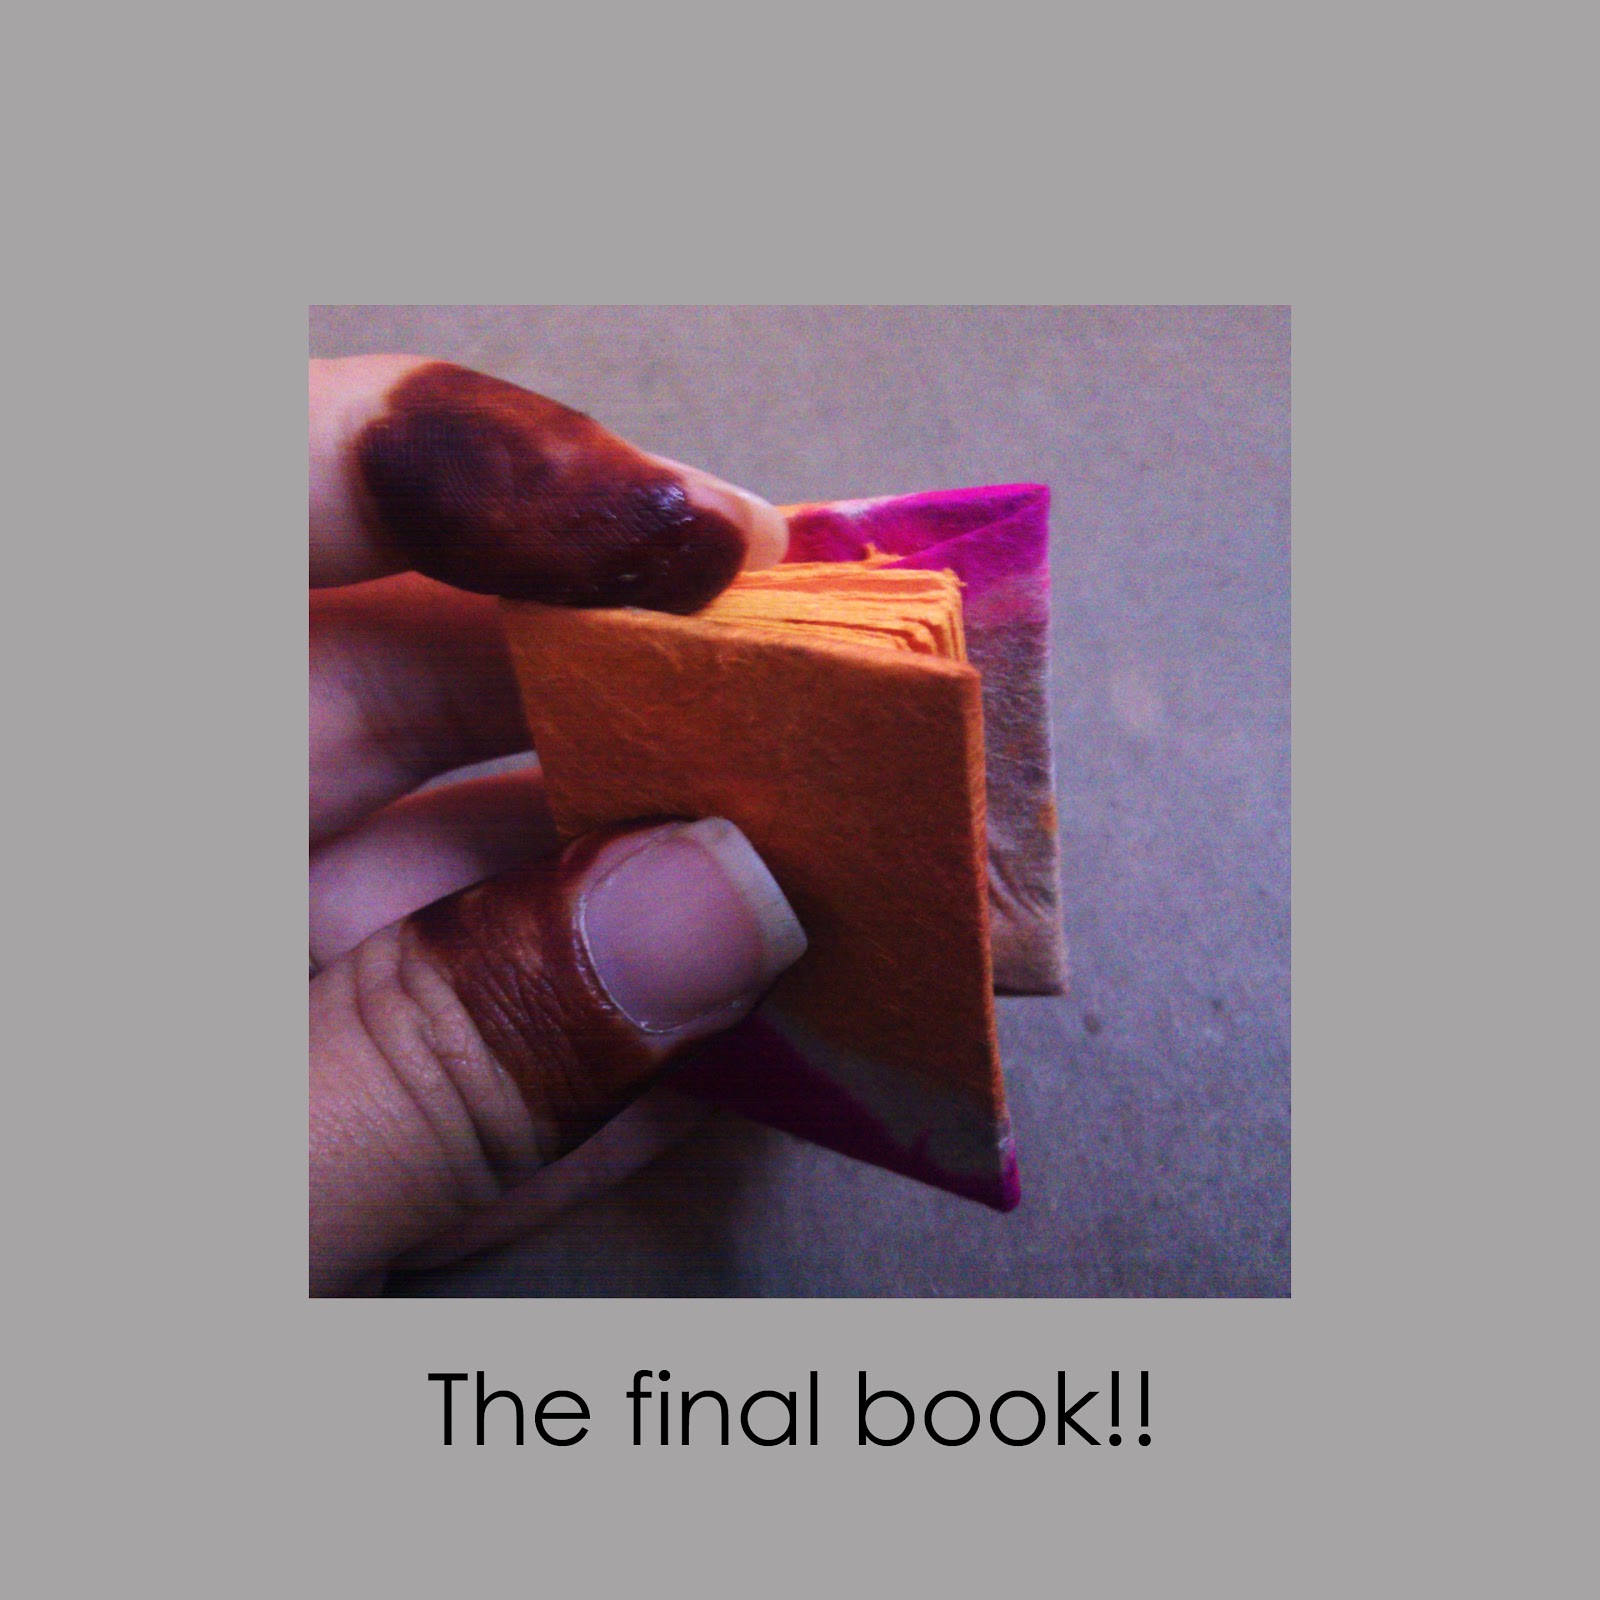
I know my book covering isn’t too neat, the edges of the
mountboard can be seen…. But well, you live and you learn…..

The whole process including the half hour fevicol drying
time took about, two hours…. Since everything is so small you have to be extra
patient and calm.


Will I make another??? Hell yeah!!!!
Wow... this one really is a thorough tutorial.
ReplyDeleteA lot of work!!
I think I can make a little book now.. :)
i would love to see a book made by you!!!!!
Delete